MiMembership provides a library of reports organised under the tabs listed in the table below. The tabs and reports available on your site depend on which modules are enabled.
Understanding report periods
A report period can be defined in one of two ways: a date range (Between X and Y) or a single date (As At).
- Between X and Y: Includes data from 12:00:00 AM on the start date (X) through to 11:59:59 PM on the end date (Y), inclusive.
- As At (today’s date): Displays live data, reflecting the current state of the system.
- As At (a past date): Displays data as at 11:59:59 PM on the selected date.
| Membership | For reports relating to membership data and membership statistics |
| Financials | For reports relating to invoicing, payments and accounts |
| General Ledger | A summary of financial journals for a date range |
| Configuration | Reports on your configuration settings |
| Relationships | Reports on linked members by relationship type |
| Shares | Reports on shareholders and playing rights |
| Sign Up | Reports for the online membership Sign Up form submissions |
Step-by-Step Guide to Generating Reports
Step 1 – Open the report
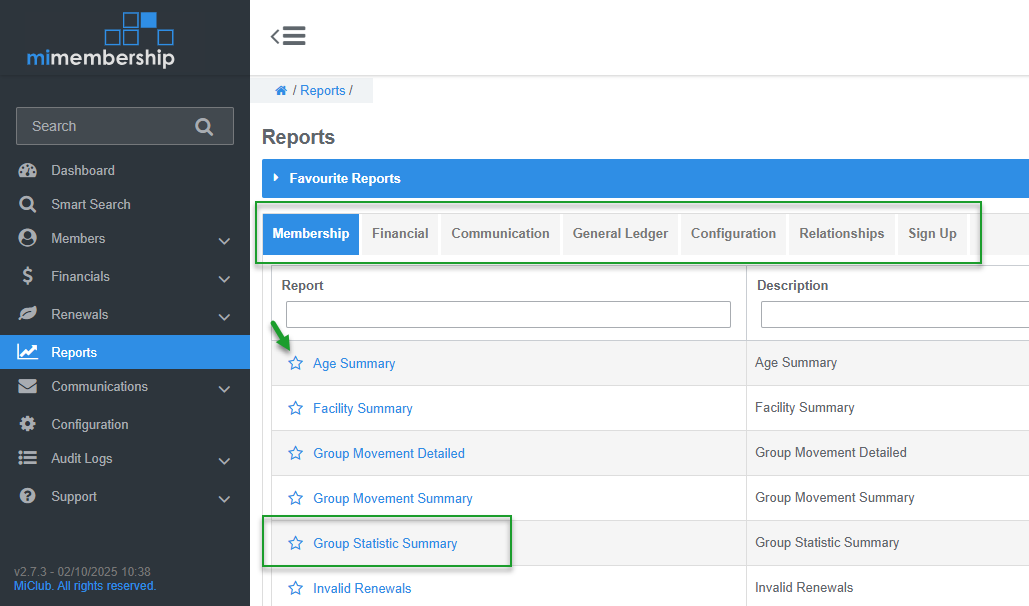
- Select Reports from the main menu.
- Click the relevant report category tab.
- Click the report name to open it.
TIP: Click the star icon next to a report name to add it to your Favourite Reports display for quick access.
Step 2 – Set the report filters
Reports use filters to determine which data is included in the results. Depending on the report, you may need to select options such as Membership Groups, Account Types, Charge Types, Payment Types or Gender.
The filter panel is accessed from the top of the report page.
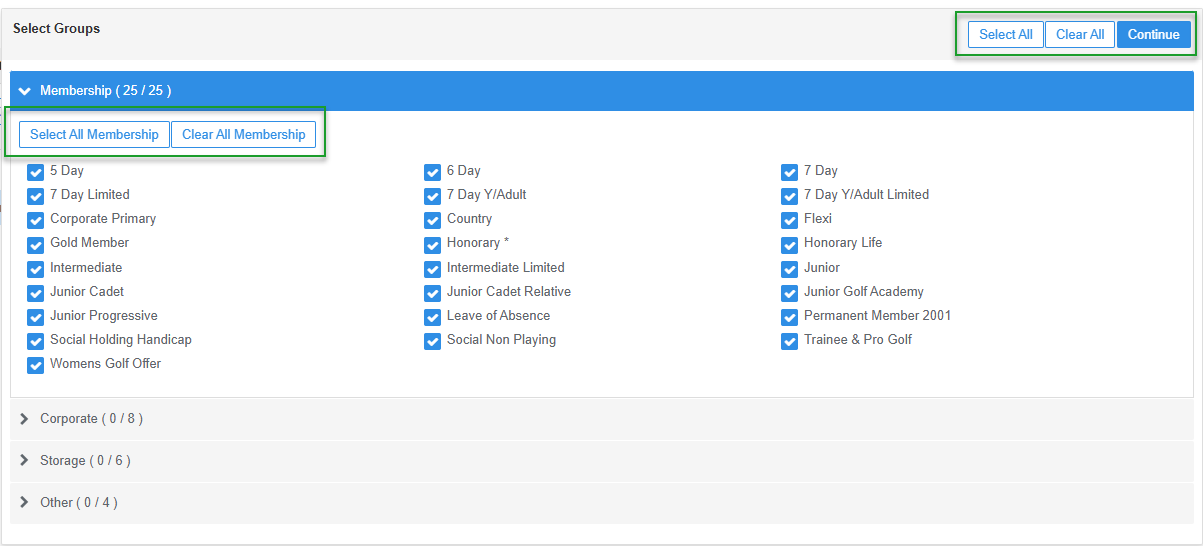
- Click the Filter button to open the filter panel (dialog box).
- Use the buttons in the top-right corner of the panel to Select All or Deselect All options across all filter panels.
- Alternatively, use Select All or Clear All within an individual panel to manage selections for that panel only.
- Tick or untick individual checkboxes to include or exclude specific data.
- Click Continue to save your selections and close the filter panel.
- Where available, tick or untick the Include additional data checkboxes to include extra information in the report or group the results by the selected option.
Note: Available filters and additional data options vary depending on the report.

Step 3 – Enter the report period and run the report
The top-right corner of each report page contains a Run button. Most reports also provide date selection options to specify a date range or an As At date.
Financial reports may also allow you to choose whether to generate the report using accounting dates or transaction dates.
- Enter the required report period date or dates.
- Select the Date Type, where applicable:
- Transaction Date – based on when the transaction occurred.
- Accounting Date – based on the date the transaction was recorded for accounting purposes.
- If the report is expected to take a long time to generate, tick the Background Job checkbox.
- Click Run to generate the report.
Use Background Job for large reports
For reports that process large volumes of data or cover extended periods (for example, a Membership Invoices Report covering the past two years), it is recommended that you select Background Job. The report will run in the background, allowing you to continue using MiMembership while it processes.

Step 4 – View and export the report results
Once the report has finished running, the results will appear on screen in a table.
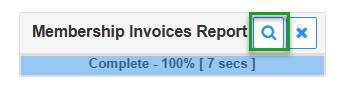
If you selected Background Job, a progress bar will appear in the task bar. Once the progress reaches 100%, click the magnifying glass icon to view the results.
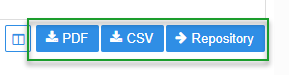
You can then use the following options to access or export the report data:
- PDF – Download the report in PDF format.
- CSV – Download the report in CSV format for use in spreadsheet applications or further data analysis.
- Repository – Open the results in the relevant repository (for example, the Memberships Repository), where you can access additional actions such as emailing members or exporting member details.
Was this article helpful?
That’s Great!
Thank you for your feedback
Sorry! We couldn't be helpful
Thank you for your feedback
Feedback sent
We appreciate your effort and will try to fix the article